Monday, October 28, 2013

Pumpkin Patch

By Earl
Halloween is almost here which means...pumpkin time!  We put on our raincoats (it's Oregon in Autumn...of course we did!) and headed to the local farm.  I was a little nervous getting on the bull at first, but Hank showed us how a real cowboy takes the reins.  
We took a hayride out to the pumpkin patch where we got to look around for the perfect lil' pumpkins.
There was a cart for pumpkin rides -
But I found an even better way to ride in style!


Friday, October 25, 2013

Project Dining Nook

By Ms. Mommy
Ms. Mommy here. Earl and Petunia are taking the day off and allowing me to share my latest home improvement project. See, our house is not very large and we don't have much of a dining room. We have a dining nook, which is partially taken up by some Ikea Trofast storage units that house toys and double as a child-sized table which Earl spends most of his day standing at while he pushes his cars around and builds block towers. 

I've been wanting to better utilize some of the space occupied by our table and chairs. We have an appalling lack of storage in our kitchen (considering we are are a family of five), so along with a switch from chairs to benches along two walls, I wanted something that also had extra storage. One of my primary concerns was our budget- it's tight, so we couldn't spend too much on this project.

After browsing ikeahackers.net, I decided that hacking an Expedit unit would be the best option. Many people have used the 5 shelf Expedit bookshelf/storage unit tipped on it's side as a bench. Oh that we could have done something so simple! Unfortunately, we had only 68 inches of space to work with along the longer of the two walls.

I'm a creative thinker, so after browsing Ikea's website for a bit, I determined that it would be entirely possible to hack two Expedit units together to create perfect sized benches for our space! First, we bought the single and 8 shelf Expedits in matching "birch effect" finish. 

 
Sadly, I didn't have the foresight or energy to photograph the processes as I assembled them late at night, but I've color coded the pieces belonging to each bench here:
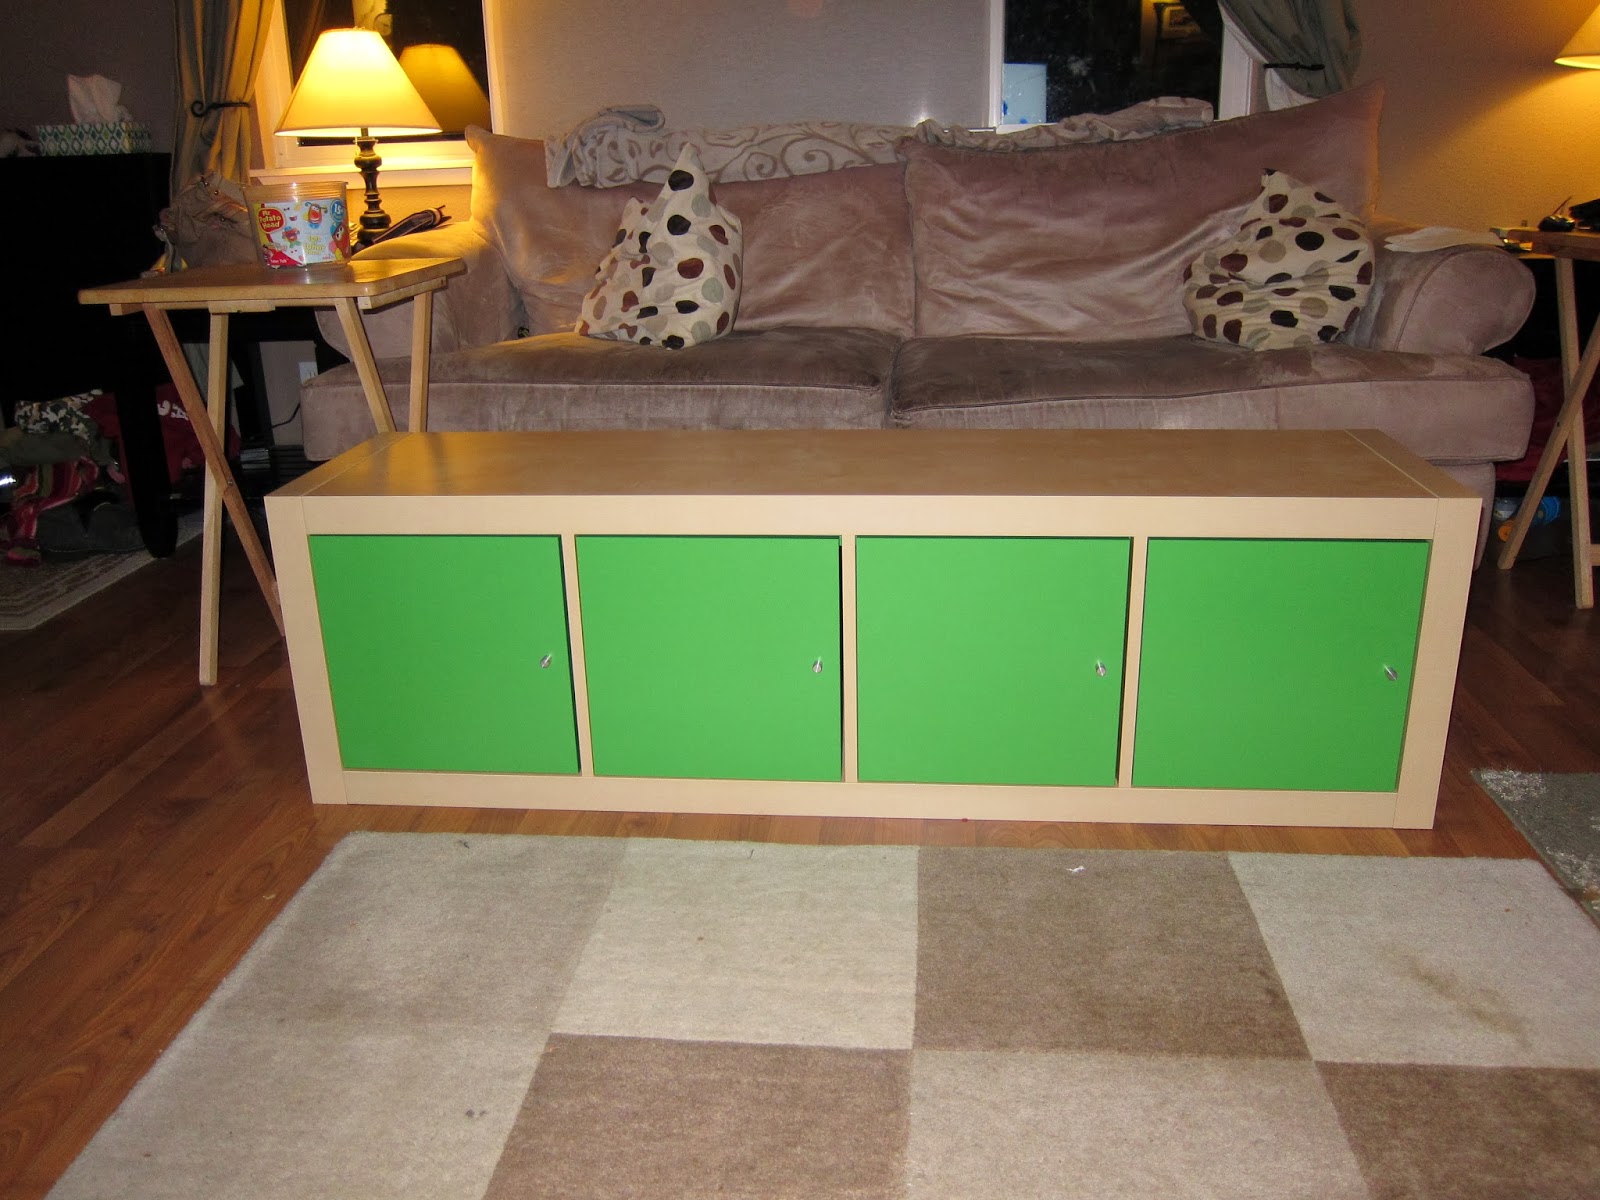
I hope that made sense! Here is what the large bench looked like immediately after assembly (with storage inserts, also purchased from Ikea). I realized after this photo was taken that the benches were going to overlap, so I had to remove an insert. 

Here they are in the dining nook, with the cushions fully crafted (material purchased during a foam and fabric sale at Joann Fabric) and secured with strips of adhesive velcro!

Oops, I still need to get the last insert in!

The final setup! The Expedit units with a three inch cushion are the perfect height for both kids and adults! So far, so good. As an added bonus, all three kids can sit on the long bench as long as I don't mind them poking and harassing each other for the entire meal. ;)


I consider Project Dining Nook a rousing success!

Thursday, October 24, 2013

Leaves, Leaves, Leaves!

By Petunia
It's Autumn! And you know nothing says Autumn (or Fall, as our big brother, Hank, calls it) like TWIRLY SKIRTS! Also, playing in the leaves. Here I am sporting some gorgeous Gymboree and Children's Place outfits while playing in the leaf pile Ms. Mommy raked up for us to jump in. You may notice my lack of glasses in several of the photos. That's because I keep falling and jamming up the nose pieces, not to mention scratching the lenses (did that last bit make you gasp the way Ms. Mommy gasped when she saw the gouges from my latest fall in the driveway?), so every now and then when we're outside I can get away with not wearing them.


Friday, September 27, 2013

Furry Friday

By Earl
Happy Friday everybody! 
Kitty cat wanted to join us today for breakfast - so we decided to let him join in on all the fun.
Best tips for protecting a fur coat: Put a bib on it.

Friday, September 20, 2013

Glasses

By Petunia
I've got glasses!  Mr. Daddy took me to the doctor last week and found that I'm far-sighted with strabismus (that means cross-eyed).  Which means that I get to wear new pink glasses!

Ms. Mommy calls this look, "Two going on Twelve."
Do any of you babies wear glasses?  
What are your tips for keeping them comfortable and keeping them on through the day?  


Wednesday, September 18, 2013

eShakti Review

By Auntie Amelia
There are many signs in the air that Fall is coming...most importantly the release of eShakti's new Fall 2013 line.

eShakti makes lovely, classic dresses with simple, delicate, and sometimes whimsical embellishments.  They size from 0-36, including entering your own measurements for complete customization.  Luckily, I fit perfectly within their size 6 so knew this dress would also fit like a glove.

Even with custom ordering, eShakti's promise is to ship and mail within 18 calendar days - so I was very impressed when I got a text from DHL certified mail to either be home (haha) or okay them to deliver my dress only 9 days after I ordered my sample!  

My favorite thing about eShakti is the ability to customize aspects of the dress.  My sample choice let me customize the sleeve option (I replaced sleeveless with cap sleeves) and length (replaced knee-length with above-knee, after all).  Plus...POCKETS!  For any mommy, auntie or lady knows - pockets should be comfortable, convenient and invisible.  

I'm enamored of the coral color of the skirt and think it will be perfect to wear for the last few days of summer or throw on a sweater as we transition into fall.  For someone who spends a lot of time with kids personally and professionally, I love how light and easy this dress feels. eShakti scored big on all accounts!


eShakti is currently having a $30 gift code for new customers.

Just for kicks - here are a few of my other favorite eShakti dresses for Fall:


Disclaimer: This product was offered to me free for review.  All opinions stated are my own.

Monday, September 16, 2013

DIY Princess Style

By Petunia
Ms. Mommy was very inspired this week.  She says my cuteness has that affect on her sometimes.  
Ms. Mommy is a crafting genius and managed this whole dress with no pattern or anything!  
Here are the directions:
- Find some fabric (this is from a sheet Ms. Mommy found on super sale...I helped find the    sheets with the red stickers)
- Cut it out in shape dress (trace along one of your favorite dresses)
- Sew it together
- Add pearls and sequins

Friday, September 13, 2013

DIY Flowers

By Earl

Time for another DIY Tutorial!  I wanted to make Auntie Amelia take pictures to help illustrate how I made these, but we were having too much fun coloring and forgot!  But if this 2 year old can figure it out - you can, too!

DIY Flowers are simple but endlessly entertaining.
All you need are:
- Coffee filters
- Markers
- Pipe Cleaners
After about two minutes of coloring (see, I told you - endlessly entertaining!), crumple the bottom of the coffee filter up (don't worry if you crumple too much, you can always color another), and ask a grown-up to twist a pipe cleaner around the bottom.
A perfect fashion accessory for every occasion! 

Wednesday, September 11, 2013

Wordless Wednesday

By Petunia
Well, not entirely wordless...since I can't let Earl get in the first and last word.
But I can sum up my summer in only one picture:


Monday, September 9, 2013

We're BACK!

By Earl
Hello, old friends! After a long summer hiatus, Petunia and I are back again to help point out the best and worst in fashion trends, accessorizing, DIY projects, and tips on troublemaking.

So I've decided to sum up my summer in two pictures:

Hope your summer was as much fun as ours!

Wednesday, May 22, 2013

Doll Makeovers - Princess Edition

By Petunia
Recently, I've become a wee bit obsessed with a Disney Jr. show called Sofia the First. It's positively enchanting! The story of a village girl whose mother married the king of the realm. Now she's a princess! And you know what? Sofia is a princess; I'm a princess! How much more perfect could it get?!

Well, I needed a doll. Unfortunately, Ms. Mommy did not like any of the expensive Sofia dolls available, so she went looking for an alternative. She was going to try her hand at making one herself, and had even picked out a pattern to use, but while we were at the craft store looking for craft velour fabric, we chanced upon a clearance aisle containing several Little Miss Matched brand cloth dolls marked down to just $5.xx! Ms. Mommy decided that giving existing dolls a makeover would be easier than starting from scratch, so she bought three different dolls. 

First, we have Sofia herself, and her stepsister, Amber. Hank said that the redheaded doll looked the most like our titular princess. Naturally, the blond would become Amber because Amber is blond. Here's what they looked like fresh out of the box, along with images of the princesses from the Disney website:


Sofia needed a purple gown and blue eyes (rather than green), and Amber needed a green dress and amber eyes (instead of blue). Sofia also received a lip lightening, as Ms. Mommy felt she didn't need to have on red lipstick. Fabric paint was used on both eyes and mouth. The dresses were made from fabric scraps. No patterns, of course, because Ms. Mommy is far too lazy to utilize an actual pattern for anything. Viola! Princesses Amber and Sofia:

We had another doll though, and she was perfect to be Sofia's Mommy, Queen Miranda.

Our Queen Miranda doll needed blue eyes and a pink dress to match her Disney counterpart.

I love my new Sofia inspired dolls, and Ms. Mommy was very happy to be able to make three of them for less than $20!

They go everywhere with me! They've enjoyed picnics in the yard, reading on the couch, and swinging on the swings.

Wednesday, May 8, 2013

Wordless Wednesday


About Earl

Earl enjoys "traditional" styles, and prefers a classic, vintage look when dressing up. His everyday wear is best described as "uber casual".

About Petunia

Petunia is a daring dresser who does her best to keep up with all the latest fashion trends. Among her favorite designers are Vintage Couture, Tea Collection, Gymboree, and Zutano.

Contact us!


* Required
Powered by myContactForm.com

  © Blogger template 'Ladybird' by Ourblogtemplates.com 2008

Back to TOP